
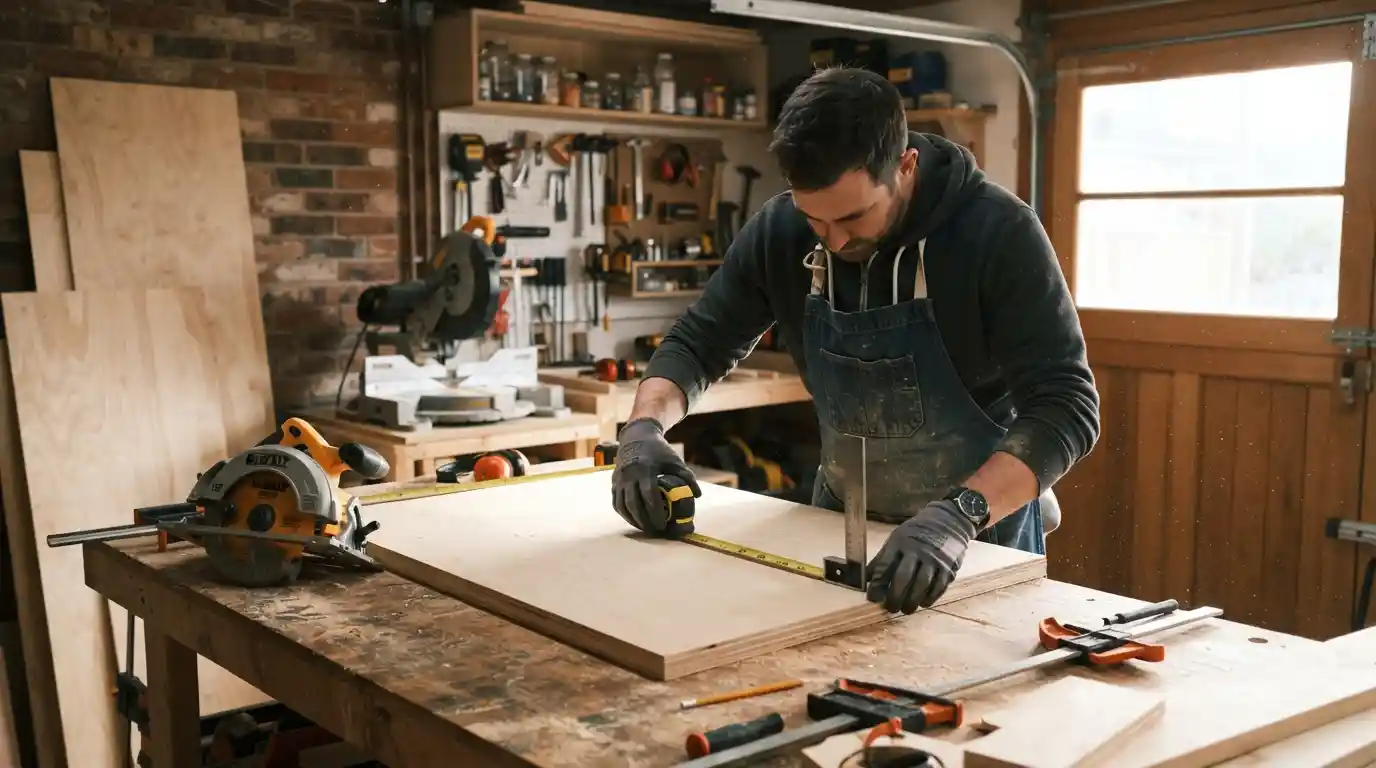
My first backsplash went up in one afternoon. Peel-and-stick tile, under sixty bucks total. Still looks decent three years later behind my stove. The second one was real ceramic. Ate my whole Saturday. Extra trip to the store too, because I hadn’t bought enough thinset. Both jobs worked out fine in the end. Neither cost what I expected walking in. Seven backsplash options here. Ranked by what they actually cost and how much of your weekend they’ll eat.
What Makes a Kitchen Backsplash a Good DIY Project?
Small wall. That’s really the whole answer. Under 30 square feet in most kitchens. Which is why a total beginner can finish one in a weekend without it turning into a nightmare. Costs stay low too. Even splurging a little on tile, you’re covering one wall. Not a room.
The real split isn’t talent. It’s tools. Didn’t fully get that until my second attempt went sideways. Peel-and-stick asks for a utility knife and a level. Basically nothing else. Real tile wants a wet saw, thinset, patience for grout to actually cure. Figure out which category you’re in before you start. Or you’ll be making an emergency hardware run, like I did.
Are DIY kitchen backsplash ideas actually cheaper than hiring a contractor?
Yes. Usually 40 to 60 percent cheaper once labor’s out of the picture. A contractor-installed tile job for a standard kitchen wall often runs $300 to $900 in labor alone. Before materials even enter the math. Do it yourself and that money stays in your pocket, assuming you’ve got the weekend.
7 DIY Kitchen Backsplash Ideas Ranked by Cost and Effort
Some of these I’ve done myself. One I watched a friend attempt badly, which taught me more than any tutorial. Cheapest first, working up from there.
1. Peel-and-stick tile
The floor of this list, price-wise. Two to eight dollars per square foot. Done in an afternoon with a utility knife and a level. Mine’s held up fine behind the stove for three years. Normal splatter and all.
2. Peel-and-stick wallpaper
Same price bracket as the tile version. Five to fifteen a square foot. What sold me was how cleanly it comes back off. A hairdryer softens the glue, peels away with zero residue. Renters, this one’s for you.
3. Beadboard panels
Six to ten dollars per square foot. Slap it right over existing tile with construction adhesive and a few finish nails. One thing though. Seal it near the sink. Raw beadboard and splash zones don’t mix, learned that from a friend’s kitchen, not mine.
4. Copper sheeting
Twelve to twenty a square foot. Mounted over plywood, no soldering for a flat panel install. Nothing fakes that industrial look like actual copper does. Scratches easy though. Don’t expect it to stay pristine.
5. Ceramic subway tile
Five to twenty in materials. Plus a real weekend of cutting, setting, grouting. Traditional pick, and for good reason. Shrugs off heat and moisture. Nothing peel-and-stick above can really touch it there.
6. Handmade or zellige tile
Fifteen to forty installed. That price reflects genuinely slow, labor-heavy production. Makes sense for one focal wall. A whole kitchen on a tight budget is a different conversation entirely.
7. Stone veneer
Twenty to fifty per square foot. Closer to a small masonry job than a weekend craft, honestly. Save it for a farmhouse kitchen. The look earns its keep there. The labor is no joke though.
Choosing the Right Material for Your Kitchen
Heat and moisture wreck more DIY backsplashes than people budget for. Found that out behind my own gas range, the annoying way. Peel-and-stick struggles with sustained heat right behind a stove. Grease weakens that adhesive faster than the box promises, over time.
Glass, ceramic, metal, all handle heat and grease better than vinyl peel-and-stick. That’s why real tile still owns the space right behind a range. No matter how good stick-on stuff has gotten. Cooking near where you’re installing peel-and-stick? Keep it clear of the burners. Or put it on a side wall instead, where heat never really reaches.
Which DIY kitchen backsplash ideas work best behind a stove?
Ceramic first, then glass, then metal sheeting, roughly. All handle heat and grease better than peel-and-stick. Side wall away from direct heat, peel-and-stick’s fine there. Right behind a gas range though, expect the adhesive to give out sooner than the packaging claims.
Installation Basics That Prevent Most DIY Mistakes
Prep beats material choice. Every time. Clean the wall first. Degrease it properly. Skip that and you’re setting yourself up for early adhesive failure, well before that three-to-five-year lifespan on the box.
Center your layout on the wall. Not from one edge. Skips that awkward sliver of tile in a corner otherwise, a mistake I made on attempt one and didn’t catch until it was basically too late. Grab 10 to 15 percent extra tile too. I ran short mid-project once. Waited three days for a matching batch. Still didn’t quite match the dye lot I already had up on the wall.
How much extra tile should I buy for a DIY kitchen backsplash?
Ten to fifteen percent over your measured square footage. Covers cuts, breaks, outlet notches. Come up short mid-install and you’re waiting days for a replacement batch. A little overbuying upfront beats that headache later.
Conclusion
DIY kitchen backsplash ideas stretch wide. A two-dollar peel-and-stick job you finish in an afternoon on one end. Stone veneer eating a full weekend and your patience on the other. Base the choice on how much mess and time you can actually tolerate. Not whichever photo you saved once and forgot why. Peel-and-stick fits renters and tight budgets well. Real tile earns its spot right behind a stove, where heat and grease genuinely matter. Prep the wall right, buy a little extra material, and this finishes cleaner than most people expect.
FAQs
What’s the cheapest DIY kitchen backsplash idea?
Peel-and-stick tile, running about $2 to $8 per square foot with barely any tools needed. A standard 30-square-foot kitchen wall using peel-and-stick often lands under $150 total, prep supplies and a bit of extra material included.
How long does a DIY kitchen backsplash take to install?
Peel-and-stick usually wraps up in 2 to 4 hours for a standard wall. Ceramic tile with grouting takes a full weekend instead, spread across cutting, setting, and letting the grout cure. First-timers should budget more time working around outlets and corners.
Can I install a backsplash over existing tile?
Yes, peel-and-stick tile and beadboard both work over existing tile as long as the surface is clean, flat, and nothing’s loose or damaged. Real tile can go over old tile too, but it needs proper prep and will raise the wall height a bit.
Do peel-and-stick backsplashes damage the wall underneath?
Usually not, installed and removed within the typical lifespan, they come off clean with a hairdryer softening the adhesive first. Leave one up for years past that window and you might find some residue left behind that needs extra cleaning.

1 thought on “DIY Kitchen Backsplash Ideas: 7 Options Ranked by Cost and Effort”