
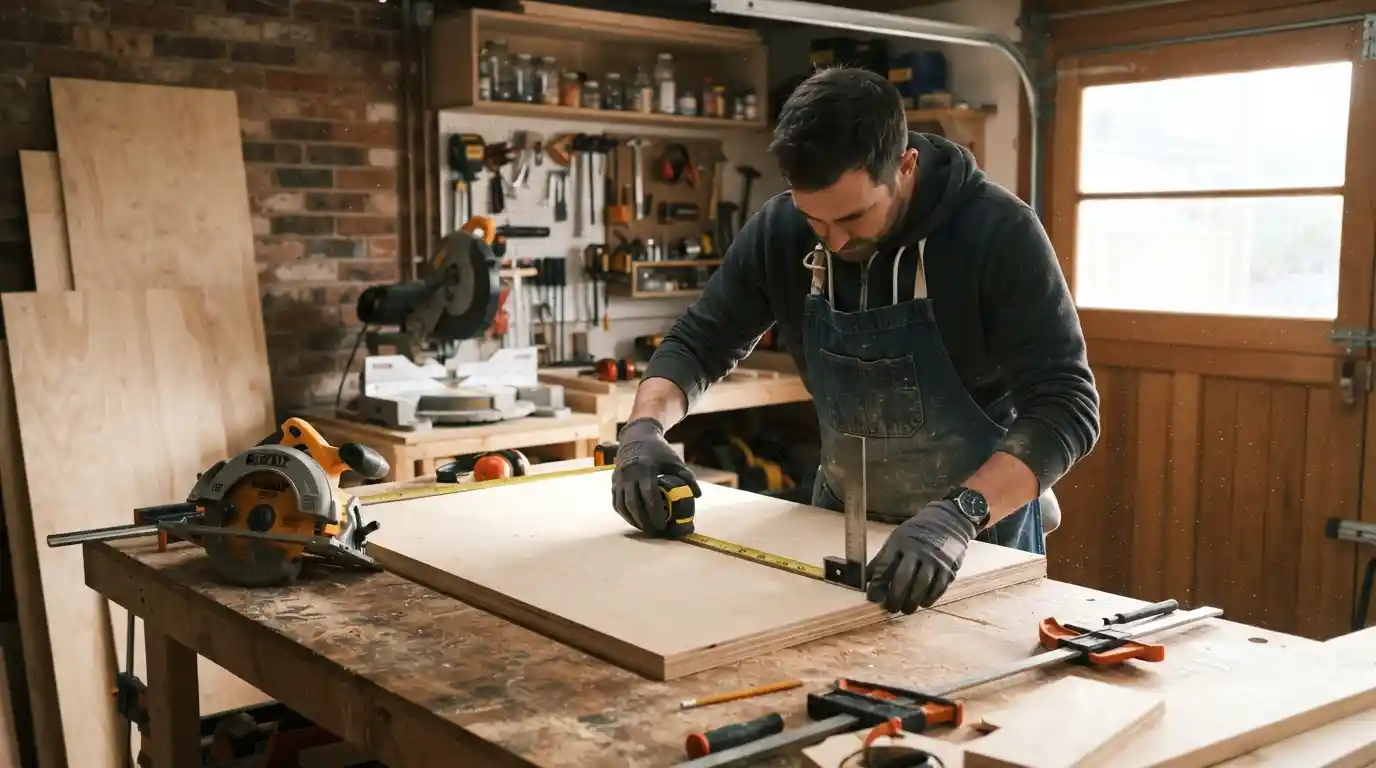
I built my first base cabinet a full inch too shallow. Countertop wouldn’t sit right. Appliances hung over the edge weird. Whole thing went back to scrap plywood after a wasted Saturday. That’s the real lesson with DIY kitchen cabinets. Not the saw. Not the paint. The numbers. Seven measurements decide whether your cabinet fits a standard kitchen or ends up as expensive firewood. This guide walks through those numbers, the tools that actually matter, and where building beats buying stock cabinets outright.
Why Measurements Matter More Than Tools for DIY Kitchen Cabinets
Anyone can learn to cut plywood straight with a circular saw and a decent rip guide. Genuinely the easy part, and I say that as someone who ruined more sheets than I’d like to admit early on. What separates a cabinet that works from one that doesn’t comes down to whether you got the standard dimensions right before you ever picked up a saw.
Base cabinets run 34 and a half inches tall before the countertop goes on. Bringing the finished height to the standard 36 inches once you factor in countertop thickness. Depth sits at 24 inches for most base cabinets, deep enough for full-size appliances and standard countertops without anything hanging off awkwardly. Get either number wrong, and you’re not looking at a small fix. You’re looking at a cabinet that doesn’t match anything else in the kitchen.
What are the standard dimensions for DIY kitchen cabinets?
Base cabinets run 34.5 inches tall, 24 inches deep. Countertop height lands at 36 inches once the counter’s installed. Wall cabinets typically sit 12 to 15 inches deep and mount so the bottom edge lands 18 inches above the countertop. Enough clearance for countertop appliances without cramping the workspace below.
7 Measurements That Make or Break Your Build
I’ve built enough of these now to know exactly where people mess up. These seven numbers matter more than any tool in your shop, full stop.
1. Base cabinet height: 34.5 inches
Box height before the countertop goes on top. Get this wrong and your entire kitchen sits at the wrong working height. You’ll feel it every single day you use the space, trust me on that one.
2. Base cabinet depth: 24 inches
Standard depth for full-size appliances and countertop overhang to work correctly. Shallower cabinets look fine on paper. Try fitting a stove or dishwasher against the wall next to them and the problem becomes obvious fast.
3. Wall cabinet mounting height: 18 inches above countertop
This gap gives clearance for countertop appliances and everyday prep work. Mount too low and a stand mixer won’t fit underneath. Mount too high and reaching the top shelf becomes a genuine daily annoyance.
4. Cabinet width increments: 3-inch steps
Stock and custom cabinets both typically run in 3-inch increments, 9 inches up to 48 inches wide. Building outside these increments makes future hardware, fillers, and replacement parts harder to source down the line, something you won’t appreciate until years later.
5. Toe kick height and depth: 3.5 inches by 3 inches
This recessed space at the cabinet base lets you stand close to the counter without your toes hitting the cabinet face. Skip it, and you’ll notice the discomfort within the first week of actually cooking in that kitchen. Learned that one secondhand from a friend who skipped it entirely.
6. Face frame thickness subtraction
Building face-frame cabinets? Subtract the frame thickness from your carcass width calculations first. Miss this step and doors won’t align with the openings. A mistake I made on my very first build. Cost me an extra sheet of plywood to fix properly.
7. Plywood thickness: 3/4-inch for structure, 1/4-inch for backs
Structural panels, sides, bottom, shelves, need 3/4-inch plywood to hold weight without sagging over time. Cabinet backs can drop to 1/4-inch since they’re not load-bearing. Saves material cost without sacrificing durability where it actually matters.
DIY Kitchen Cabinets vs. Buying Stock Cabinets
Cost is the obvious draw here, and it’s real. Materials for a modest run of DIY kitchen cabinets typically land under $1,000 for plywood, hardware, and finishing supplies. Well below what stock cabinets cost installed for a comparable kitchen size. Cost isn’t the only thing worth weighing though.
Stock cabinets install faster, come pre-assembled. Matters a lot if you’re working around a tight renovation timeline, or just don’t have weekends free to spend sanding and painting. DIY building takes real time, often a few days spread across cutting, assembly, and finishing. Demands tools most people don’t already own too. Got a table saw or track saw sitting in the garage already? Math tips heavily toward building. Need to buy every tool from scratch instead? Factor that cost into your comparison honestly before committing to anything.
Is it cheaper to build or buy kitchen cabinets?
Building is almost always cheaper on materials alone, often by a significant margin over stock cabinet pricing. The math shifts if you need to buy tools you don’t already own. A decent circular saw, rip guide, and pocket-hole jig can run $150 to $200 combined, narrowing the gap on a smaller kitchen project specifically.
Painting and Finishing DIY Kitchen Cabinets
This is where a lot of otherwise solid builds fall apart. I rushed the prep once. Paint peeled off two of my doors within a month. Lesson learned the hard way. Surface prep matters more than the paint itself. Clean the cabinets first. Sand them next. Prime before any color goes on. Skip any of those steps and the paint just won’t hold.
Oak gave me trouble the first time I tried it. That open grain bleeds tannins straight through regular primer. Discolors your finish coat if you’re not careful. Use a bonding primer instead, made for that exact problem. Sand between coats too. I use 220-grit paper, nothing coarser. Thin coats work better than one thick one, every time. And give it real time to cure. Not just dry to the touch. Several extra days beyond that, minimum, before doors go back on and the kitchen sees regular use again.
How long does it take to paint DIY kitchen cabinets?
Active painting time runs a few days. Prep, priming, two coats, that’s most of an average kitchen right there. Full cure takes longer though. Often several more days past when the surface feels dry. Give it a full week of light use before you treat the finish as truly durable.
Conclusion
DIY kitchen cabinets come down to measurements, not skill with a saw. Get the heights and depths right, and building gets a lot easier, even for a total beginner. Skip the toe kick, or mess up the face-frame math, and you’re redoing work instead of moving forward. I learned both lessons the expensive way so you don’t have to. Measure twice against these seven numbers. Cut once. The rest of the build actually gets simple after that.
FAQs
What tools do I need to start building DIY kitchen cabinets?
A circular saw with a rip guide, a pocket-hole jig, a drill, and a level cover most of the actual building work. Budget roughly $150 to $250 for these if you’re starting from scratch, since a decent rip guide and finish blade make a real difference in cut quality.
How much does it cost to build your own kitchen cabinets?
Materials for a modest kitchen typically run under $1,000 for plywood, hardware, and finishing supplies, well below comparable stock cabinet pricing installed. Tool costs add to that total if you don’t already own basic woodworking equipment.
Can a beginner build their own kitchen cabinets?
Yes, with careful attention to standard measurements and a straightforward face-frame or frameless design. Start with one cabinet before committing to a full kitchen, since your first build almost always teaches lessons the second one benefits from directly.
Is it better to paint or reface kitchen cabinets?
Painting works well when the cabinet boxes are structurally sound and you just want a new look for less money. Refacing makes more sense when the boxes are solid but doors and drawer fronts are damaged or outdated beyond what paint alone can fix.

1 thought on “DIY Kitchen Cabinets: 7 Measurements That Make or Break the Build”